|
|
|
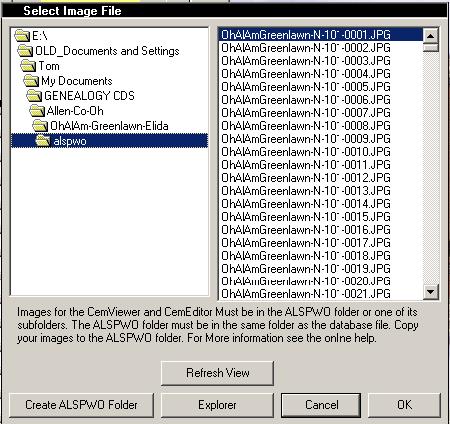
HelpPicture Folders - ALSPWO DialogSelecting ImagesALSPWO IMAGE DialogAfter double-clicking on an image field in the CemEditor or using the "Get" button in CemEditor2 the following dialog will appear.
Pictures must be in the ALSPWO folder on one of its subfolders for the CemEditor to use them. Select a photo by clicking on it using the dialog above and then click on "OK"
|
|
|
|
Copyright 2004-2026 OVS-GENEALOGY OVS TAG
Contact: support@ovs-genealogy.com
To receive replies make sure to allow email from this address in your email filter
www.ovs-genealogy.com